Step 1!
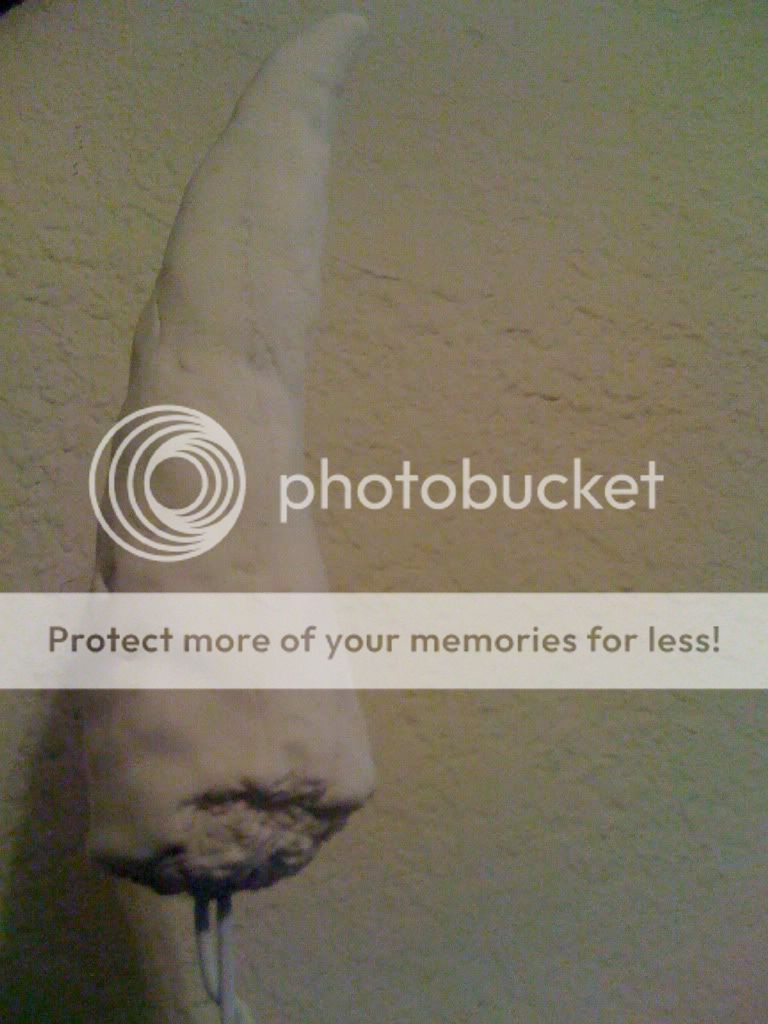
I started out with a wire hanger and I bent that into shape as to accommodate the tooth. I then wrapped tinfoil around the hanger in a rough idea of the shape I wanted the final product to look like.

Step 2!I started applying the molding material to the tinfoil in thin layers just to get it coated.
 .
.Step 3!
After applying another thin layer I started adding small amounts to various parts of the tooth to start bringing out the final shape that I wanted.
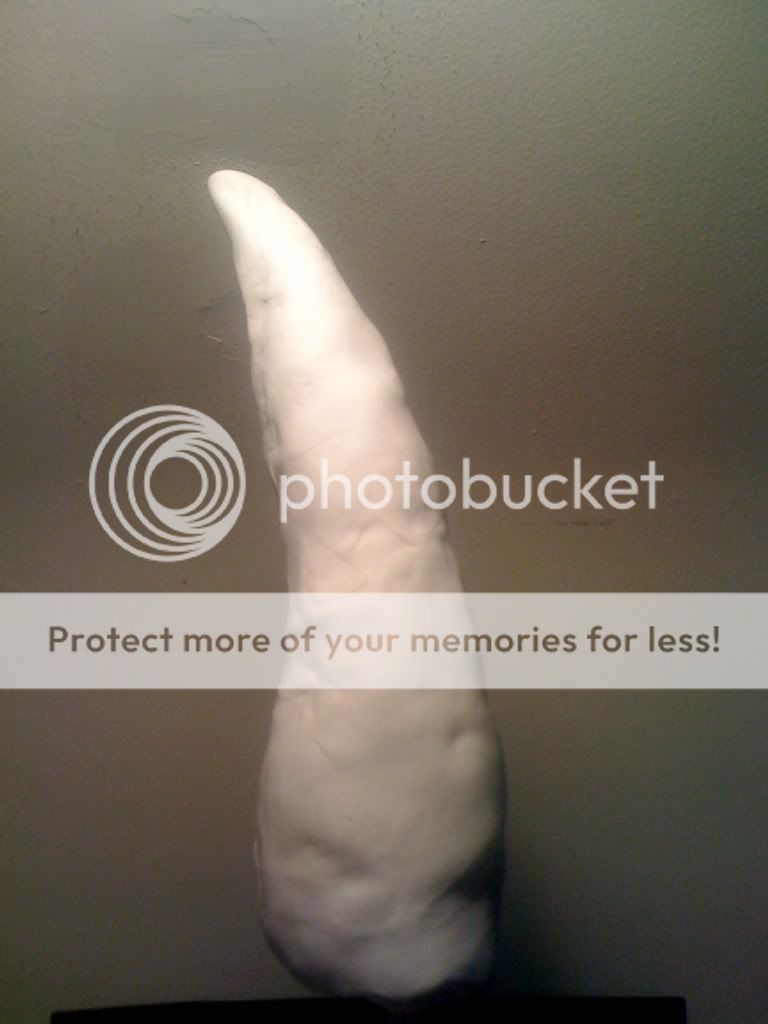
Step 4!
I started applying small details like lines, cracks, and decay marks into the tooth to give it some much needed texture.

Extra!
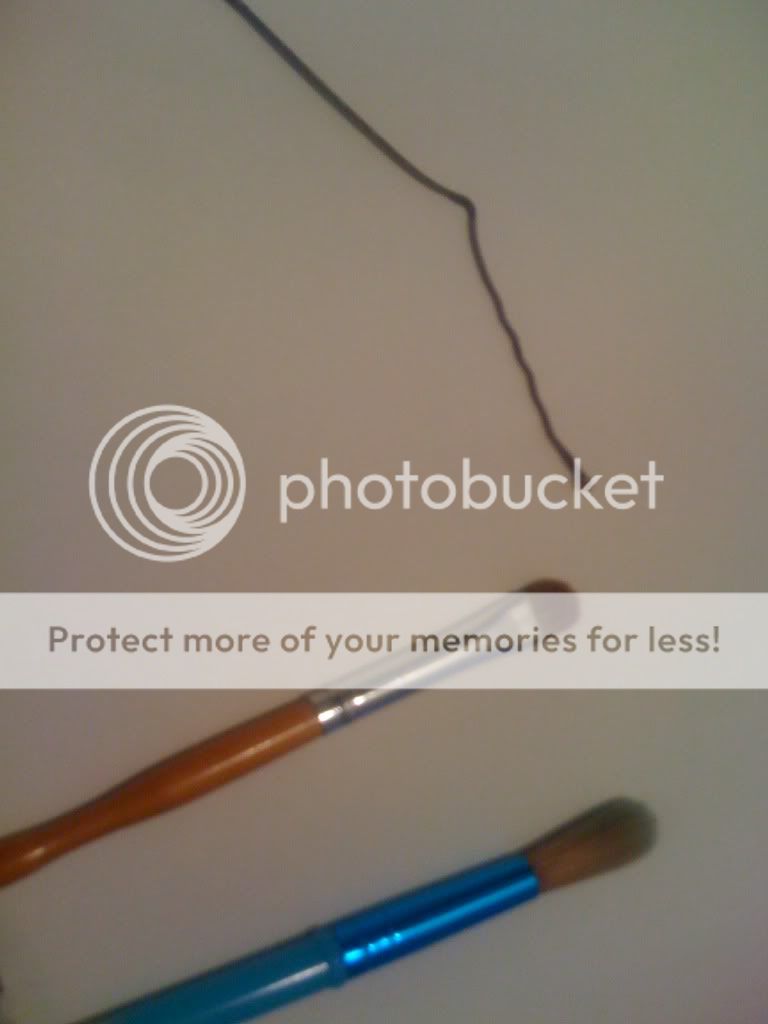
Some of my tools! brushes and bobby pins (not pictured are the cutlery and the other small things I used to add detail like a small star wars toy)
Next steps will involve painting !!!
No comments:
Post a Comment